How to Create a Spotify Canvas with an AI Video Generator
Spotify Canvas offers creators a way to loop video in the background during a stream. Here's how to create animated content for a Spotify Canvas and publish it.
The most popular audio streaming platform on the internet has been dabbling in short-form music videos since 2019. Spotify Canvas was originally available to a select group of artists, but looping video content was so successful that it soon became available to all artist accounts.
It’s comes as no surprise that these videos are more engaging than static album artwork. Internal research from the company found that a Spotify canvas increased track streams by up to 120%. Fans saved the songs 114% more than tracks without the looping visuals. Artist profiles collected more subscribers and shares as a result.
In March 2023, a new variation called Spotify Clips was released with support for videos of up to 30 seconds duration. They can be attached to an artist profile, songs, albums, and even upcoming releasees. A playlist feature has also rolled out, closely resembling a TikTok feed.
In this article we’ll show you how to make your own Spotify Canvas videos from start to finish. We’re aware that the majority of artists don’t have the budget to write, shoot, direct and edit their own content. So to help you with that, we’ll include a tutorial on how to turn your songs into a music video with Neural Frames.
What is a Spotify Canvas Video?
A Spotify Canvas is a 3-8 second video loops that show up whenever users stream a song. They have to be rendered in a vertical format with a 9:16 aspect ratio to be accepted. Once uploaded, they can be viewed on Spotify’s mobile app with an iOS or Android device. Desktop users cannot access the canvas feature.
There are three common video formats recommended by the platform:
- Continuous Loops: A video that flows seamlessly into itself.
- Rebound / Boomerang: Play your clip and then reverse it for a visual see-saw effect
- Hard Cut: Any video clip that cuts off without seamless return to the starting point
Any Spotify artist can add canvas loops to their song, but it goes without saying that you’ll need video content first. The easiest place to source that material is from your own social media channel. Instagram stories and reels, TikTok and YouTube Shorts are going to be . If you don’t have any material to draw from, keep reading for a detailed tutorial and instructions on how to create your own animations.
Creating a Spotify for Artists profile
To create a Spotify Canvas, the first thing you need is a Spotify artist account.
Independent artists who want to handle digital distribution on their own have a lot of options. CD Baby or Distrokid are two of the most popular services and they mostly offer the same benefits.
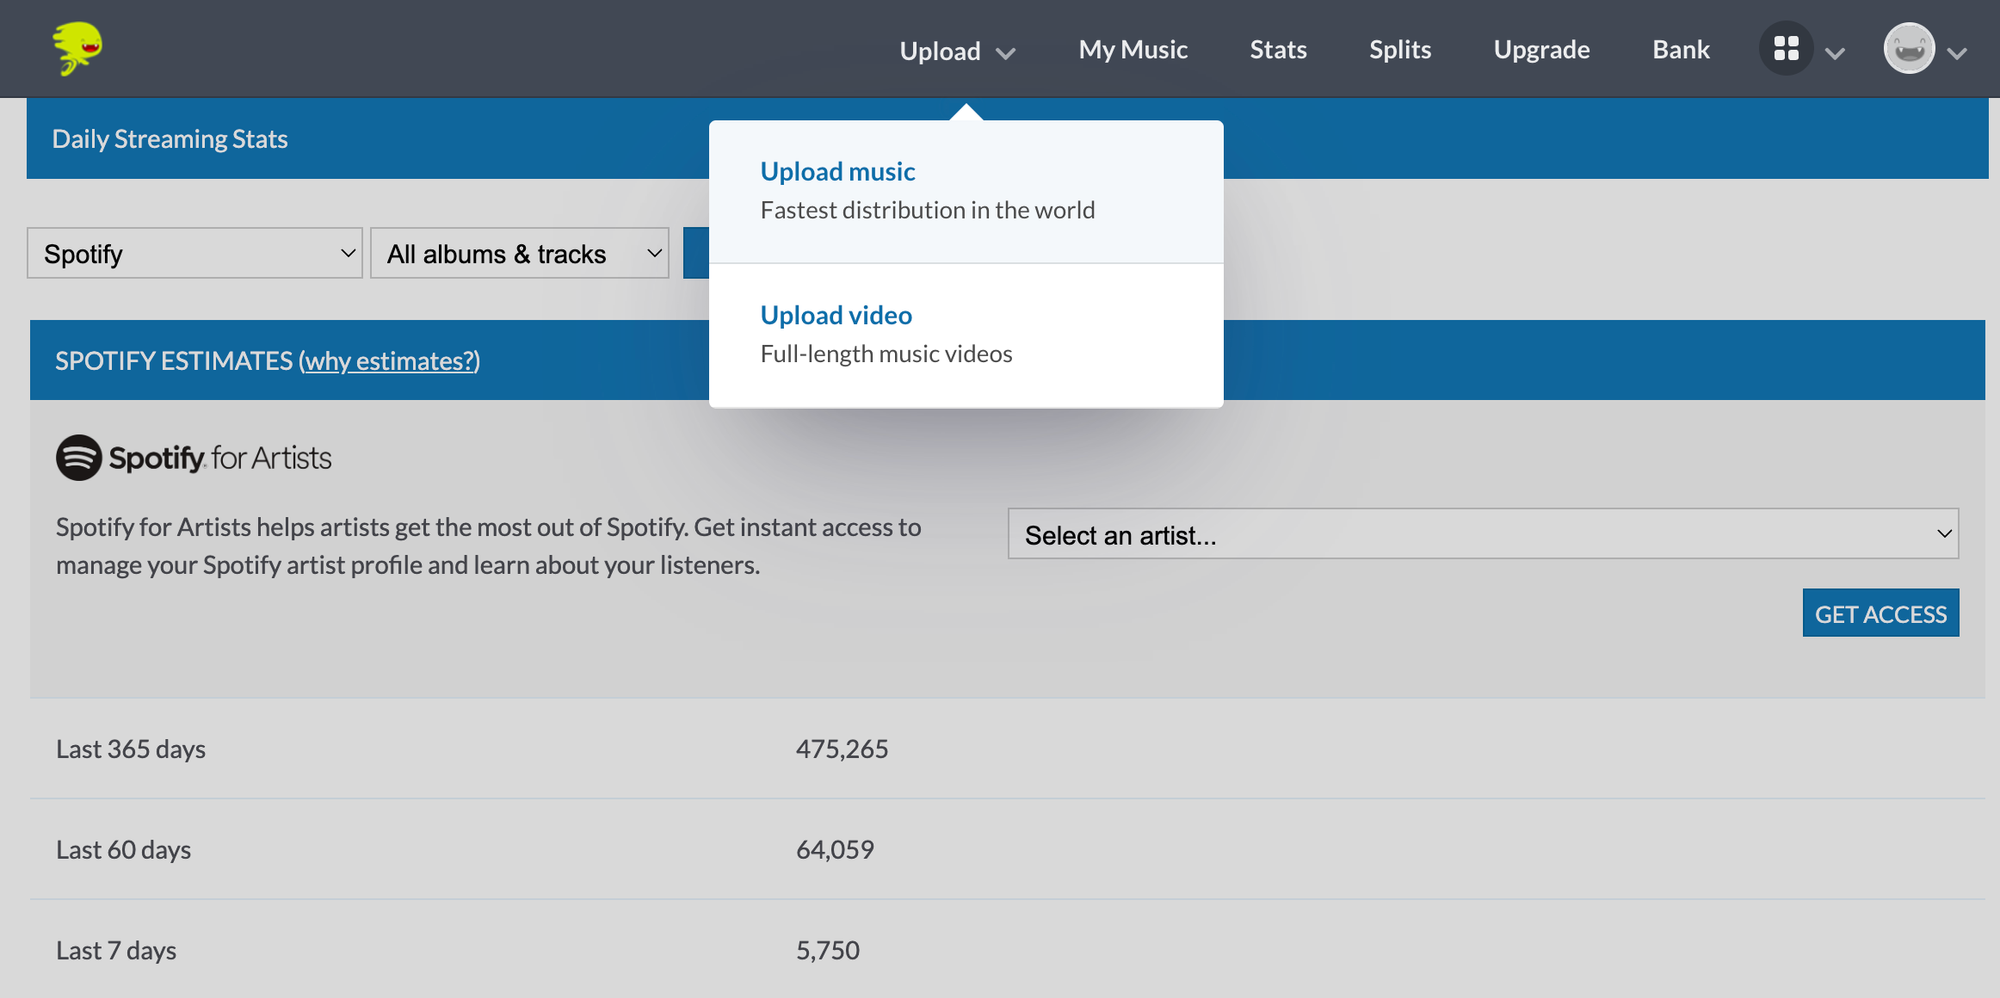
As a registered users, you’ll be able to push singles, EPs, and full length albums out to all of the major streaming platforms with a single deployment. They’ll connect to your existing Spotify artist profile or help you generate a new account from scratch.
It can take a few days for music to show up on brand new profiles, so be patient. Once you’ve confirmed that they’re up online, you can move forward to the next step.
How to make a Spotify Canvas
To make a Spotify Canvas you’ll need to have at least one song published on a Spotify for Artists profile page that you control. Here’s a step by step guide on how to go about adding your video so that they play as a continuous loop:
- Log into your Spotify Artist account.
- Check the artist name in the top left corner to be sure you’re on the right dashboard.
- Click the music tab on the left navigation menu.
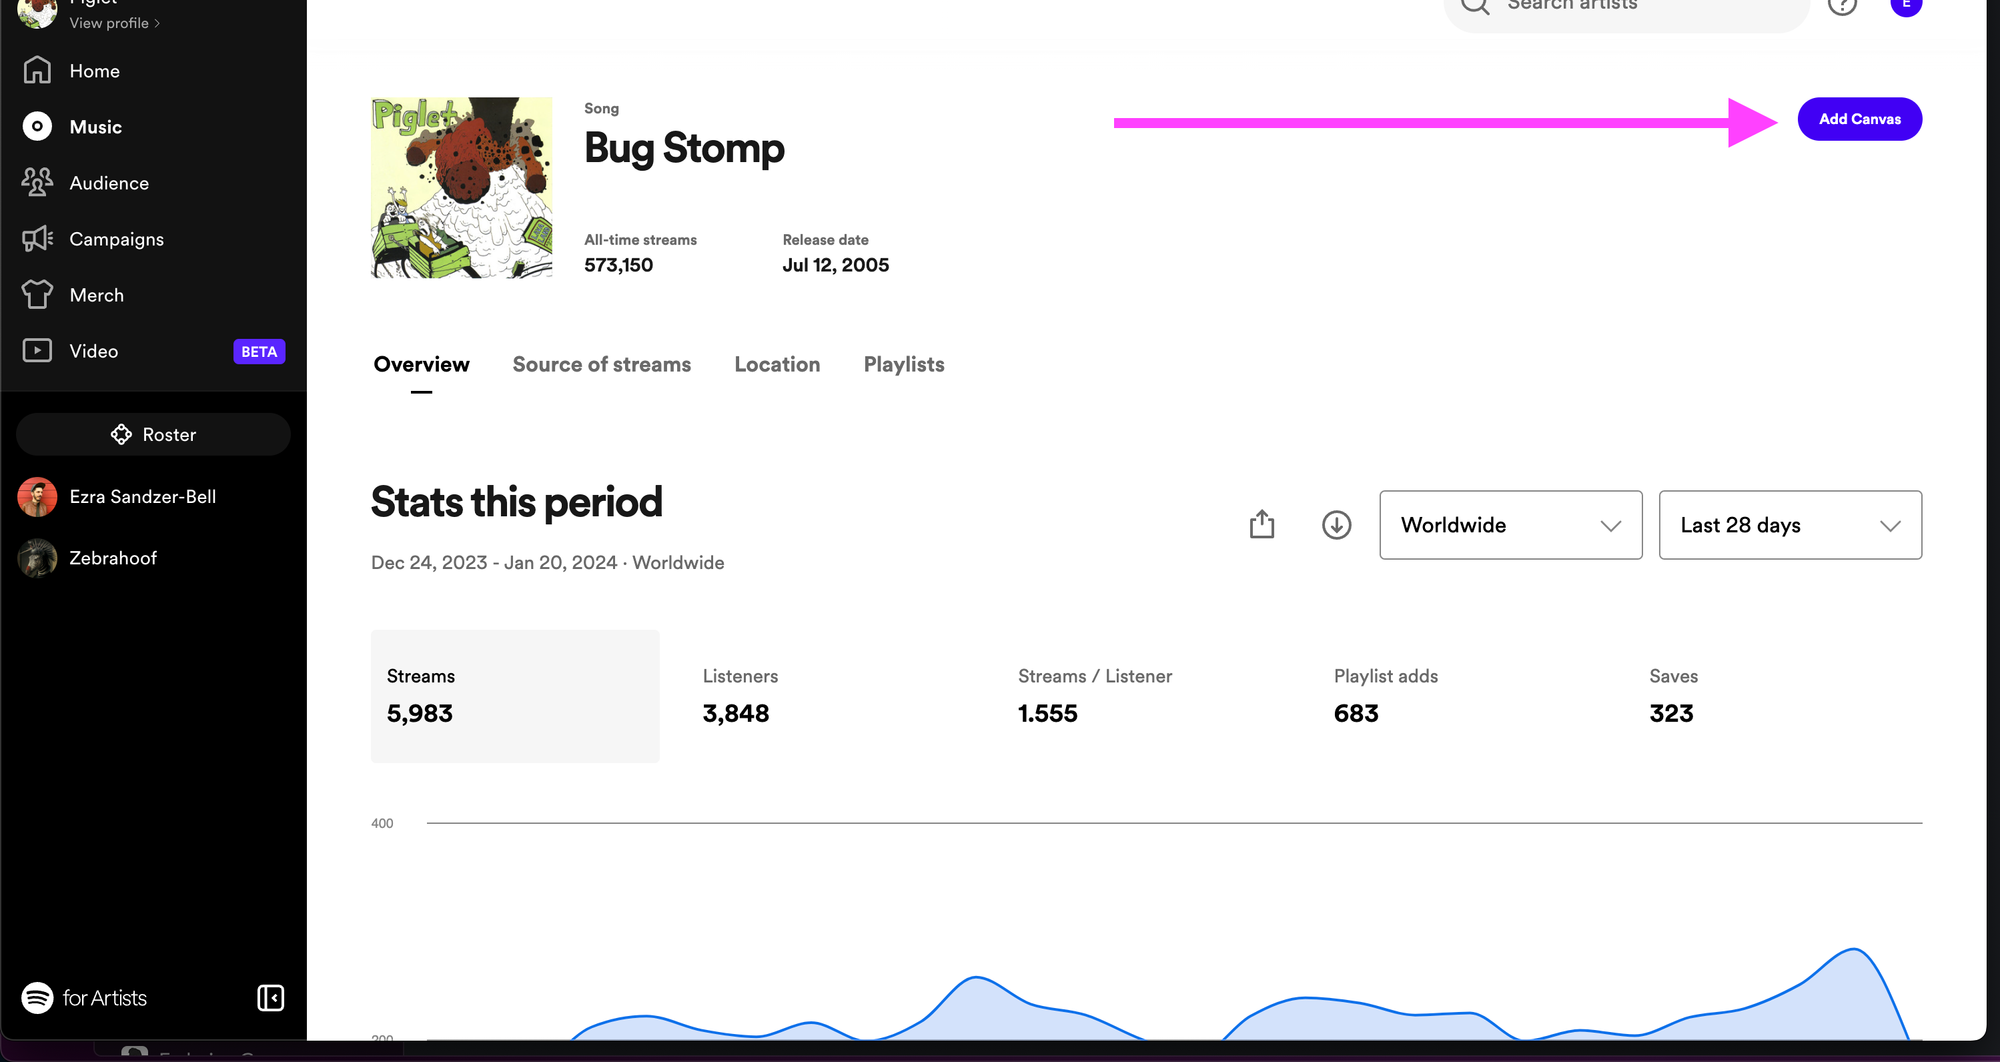
- Find the song title on your dashboard and select it to open the detail page.
- Click on the “Add Canvas” button located at the top right corner of the song detail page.
- Indicate whether your video contains explicit content.
- Click on the large purple plus symbol to upload a jpeg or video file from your hard drive.
- Hit “Next” when the video has finished uploading.
- Agree to the Terms and Conditions and hit “Post”

The Spotify canvas will take upwards of 10 minutes to process. Once it's live, your fanbase will see the video in their “Now Playing” view when they stream from a mobile device.
Create a Spotify Canvas with neural frames
Now that we’ve covered most of the essentials, for let’s back up for a moment to talk about creating the video loop itself. It goes without saying that you’ll need a license to use existing content, so definitely don’t upload any material that’s protected by copyright.
Licensing stock videos can feel a bit tacky, but investing thousands of dollars in a professional shoot may be out of the question. Neural Frames is the best way to create a modern looking video clip on a budget. You retain full control over everything from the imagery and visual themes to the camera angles and pacing.
To get started, sign up for free and you'll received 10 seconds of video content generation for free. That's enough to create your first couple of canvases and see how you feel about the platform.
When you go to create the first image, click the Format dropdown menu and select the vertical 9:16 option shown below. This will ensure that the rest of the video remains in a format that Spotify will accept.
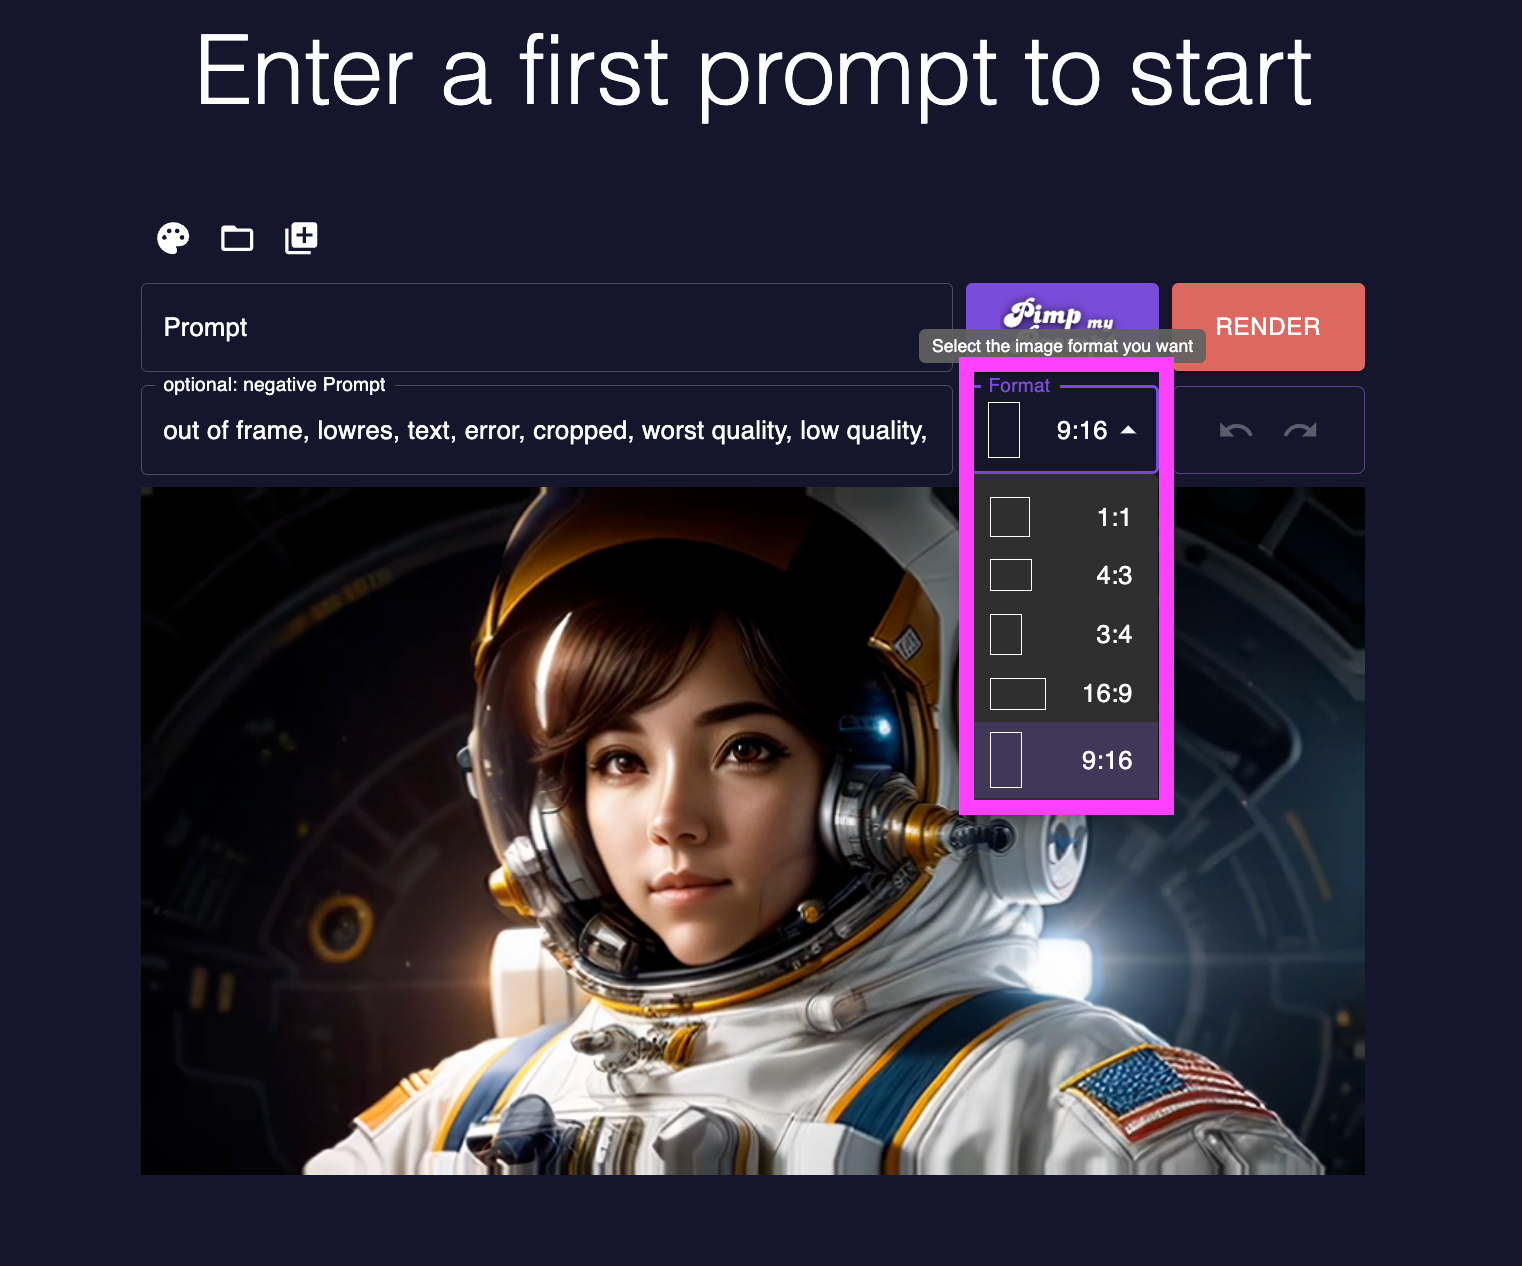
The text prompt field is where you describe the imagery that you want for your initial image. It could be anything, like "a monster jumping out of neon bars". If you want some help, take advantage of the pimp my prompt button to create random prompts or expand on something you've already written. Then hit render.
Once the image has been generated, we're on to the exciting part. There are several parameters here to play with. Some conventional camera controls like zoom and rotation are found here, along with values like strength and smooth that impact the style of frame-by-frame animation performed by the model.
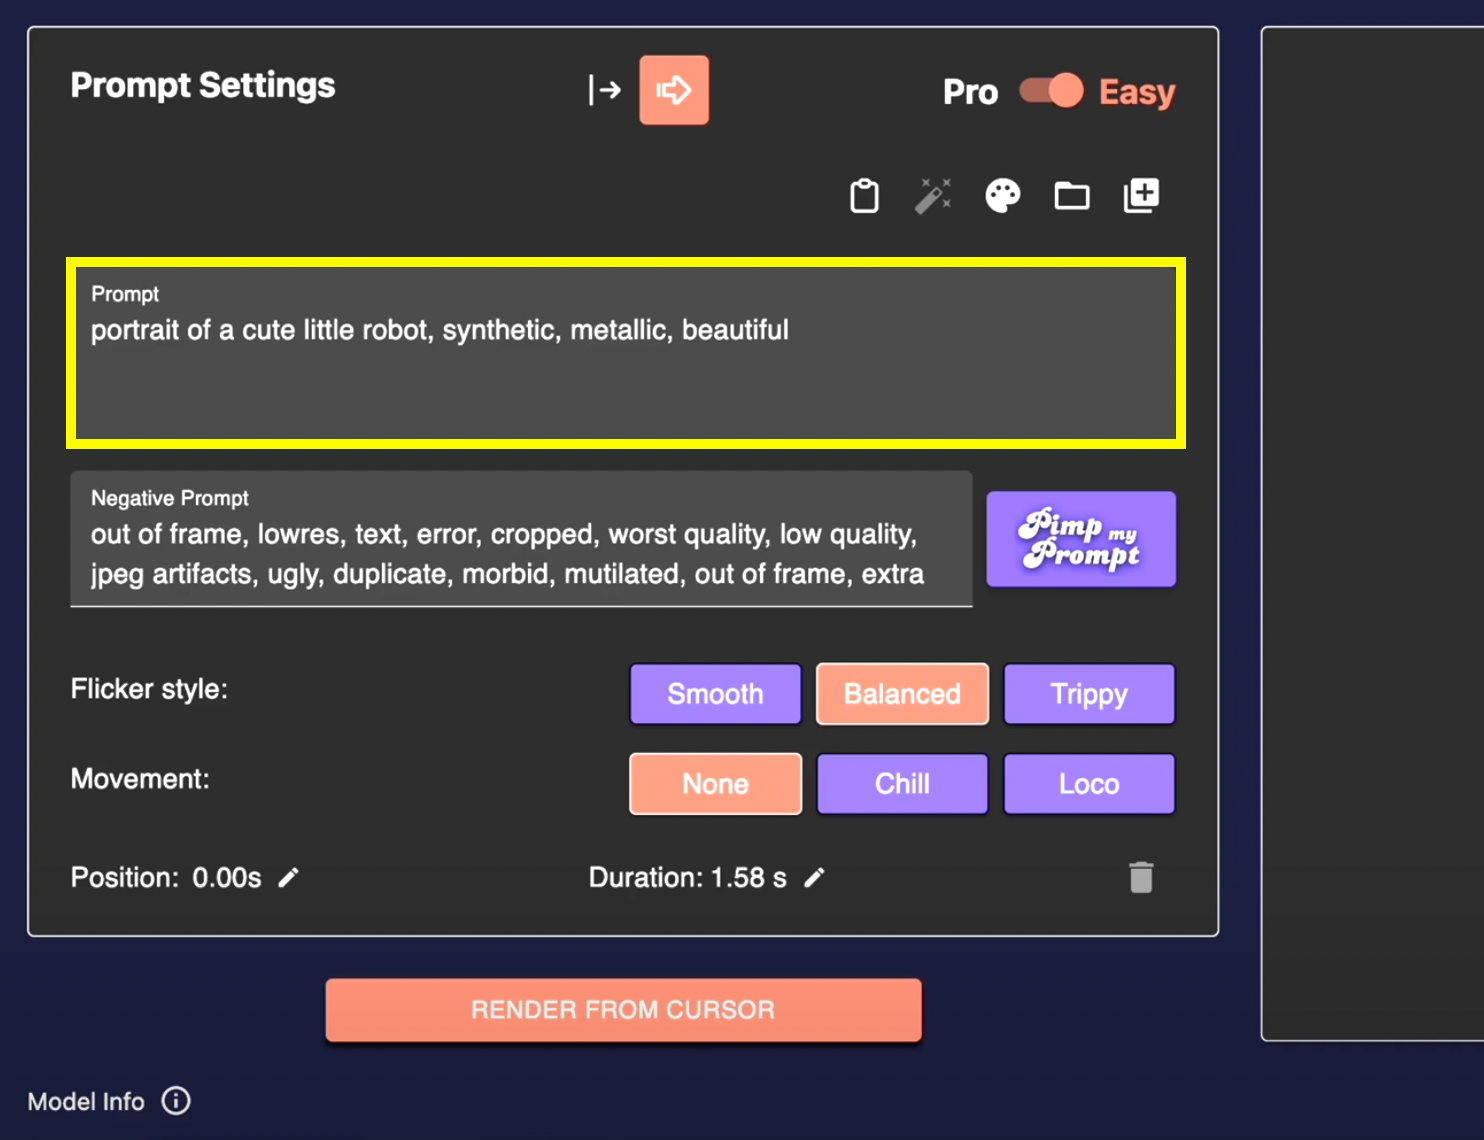
You'll find a timeline below the prompt settings, where you can control the duration of your animation and transitions between images. A full walkthrough tutorial for creating AI music videos with Neural Frames can be found here.
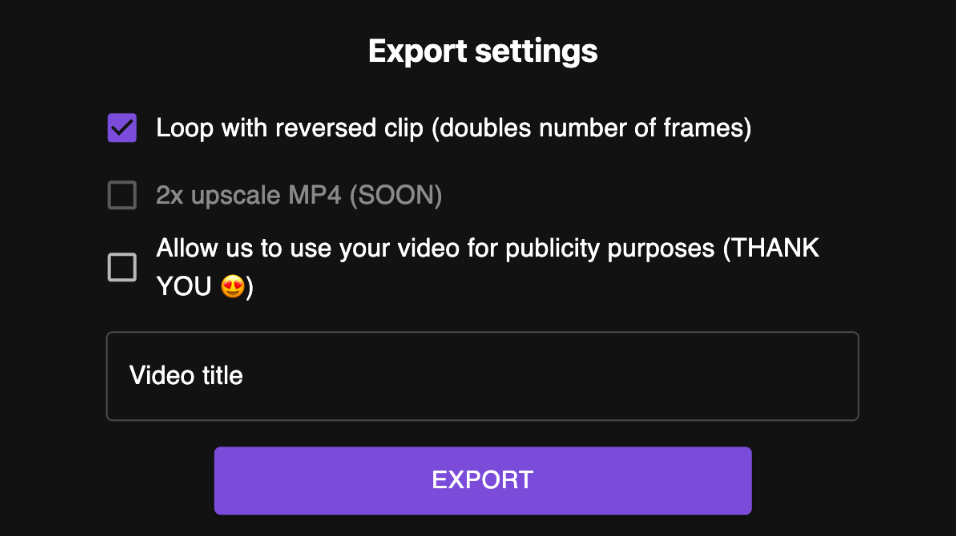
Once you've created your video loop, render and export it at 1080p. To conserve your free generation credits and end up with a seamless boomerang effect, check the first box labeled "loop with reversed clip". This will double the length of your rendered video, so keep your initial generation at 4 seconds or less to make sure it doesn't exceed Spotify's 8 second limit.
We've already covered the process of uploading it on Spotify for Artists, so that's pretty much all there is to it. If you're on a phone, you can see an example of what a finished Spotify canvas looks like here: