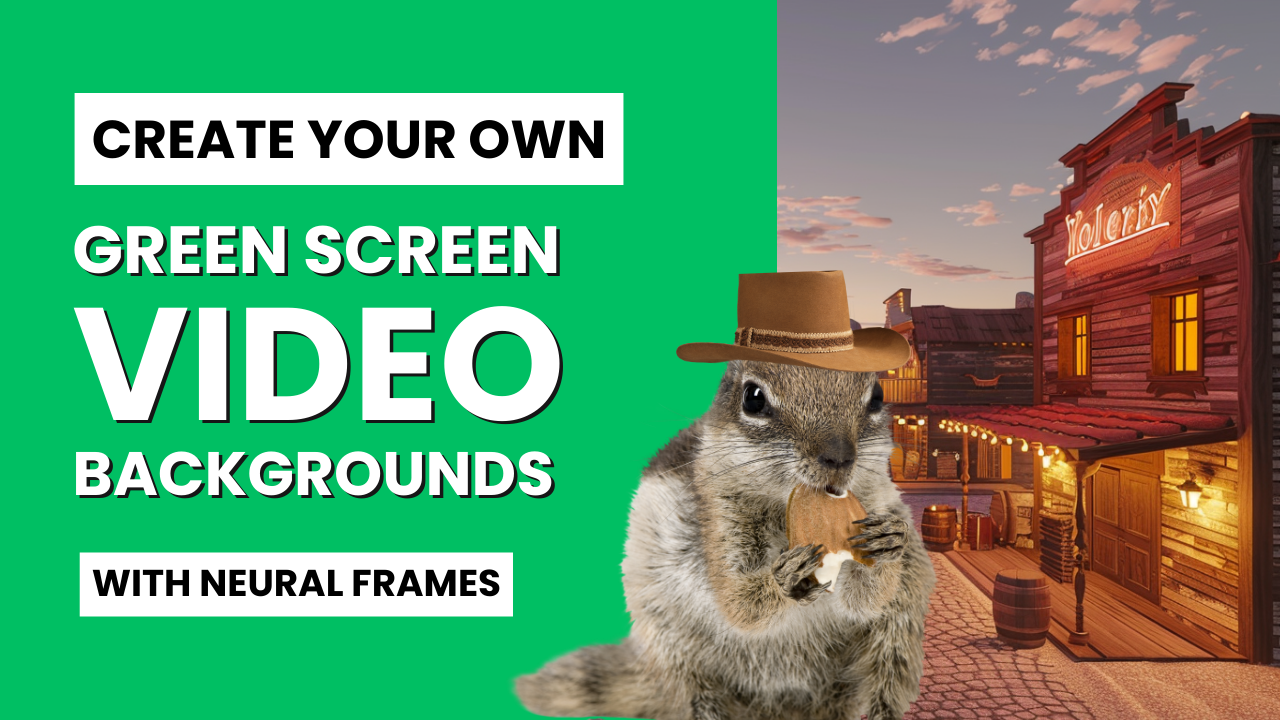
How To Make Animated Green Screen Video Backgrounds
Green screens have been a staple of special effects in film and television since the 1980s, when George Lucas first popularized it in Star Wars: Empire Strikes Back. The technique is commonly referred to as chroma keying; chroma refers to the blue or green color of the backdrop and keying refers to the act of swapping in a new background.
In this article we'll walk you through the basics of how to set up and record with a green screen and where to find stock video content. For the more adventurous readers, we'll show you what other artists are doing to spice up their YouTube and TikTok videos with AI animations from neural frames.
Background removal: Pick your difficulty level
There are several ways to experiment with video background removal. Purchasing a green screen and shooting your own footage is the most technically challenging option, but gives you the most creative control and produces the best results.
If you're new to the technique and want to get some practice first, try grabbing stock video footage where part of the visuals have been replaced by a solid color already. We've shared links to several stock libraries when you'll find content like that. At the end of this article, we share tutorials for chroma keying in each of the major video editing software tools.
The third option, which is by far the easiest, is to use software like Capcut, VEED, Canva. These apps don't require a green screen at all. They used depth detection to remove the background automatically. Be aware that this method can work great in some cases, but is not always reliable. We'll share some details on this shortly, but let's start first with the basics of how to set up and light a green screen.
Techniques for lighting your green screen set
Want to shoot your own video? You'll need more than a green bedsheet to get started.
Green screens for home use typically range from small 1 x 1 meter (3 x 3 feet) backgrounds for close-up shots, up to larger 4 x 6 meters (12 x 18 feet) for full-body, wide-angle shotes.
Lighting is one of the most important factors to consider when creating your set. You should plan to have separate and even lighting for your green screen backdrops. This will prevent foreground subjects from casting shadow on the screen and interfering with the chroma keying in post. Be sure the screen is pulled taught and there are no wrinkles on the surface.
If you're going for realism, try to choose your video backgrounds in advance. This will help you make decisions about how to light your foreground subjects appropriately.
For example, if the lights in your studio are coming from one angle, but the background video shows shadows cast in the opposite direction, your audience will probably notice. For evening imagery, use dim lights in the foreground to avoid clashing with the surrounding atmosphere.
Stock video for green screen backgrounds
Most stock media websites offer suggestions for green screen video backgrounds. They tend to be a combination of neutral scenery and video footage where a portion of the video has been removed and replaced with a solid color.
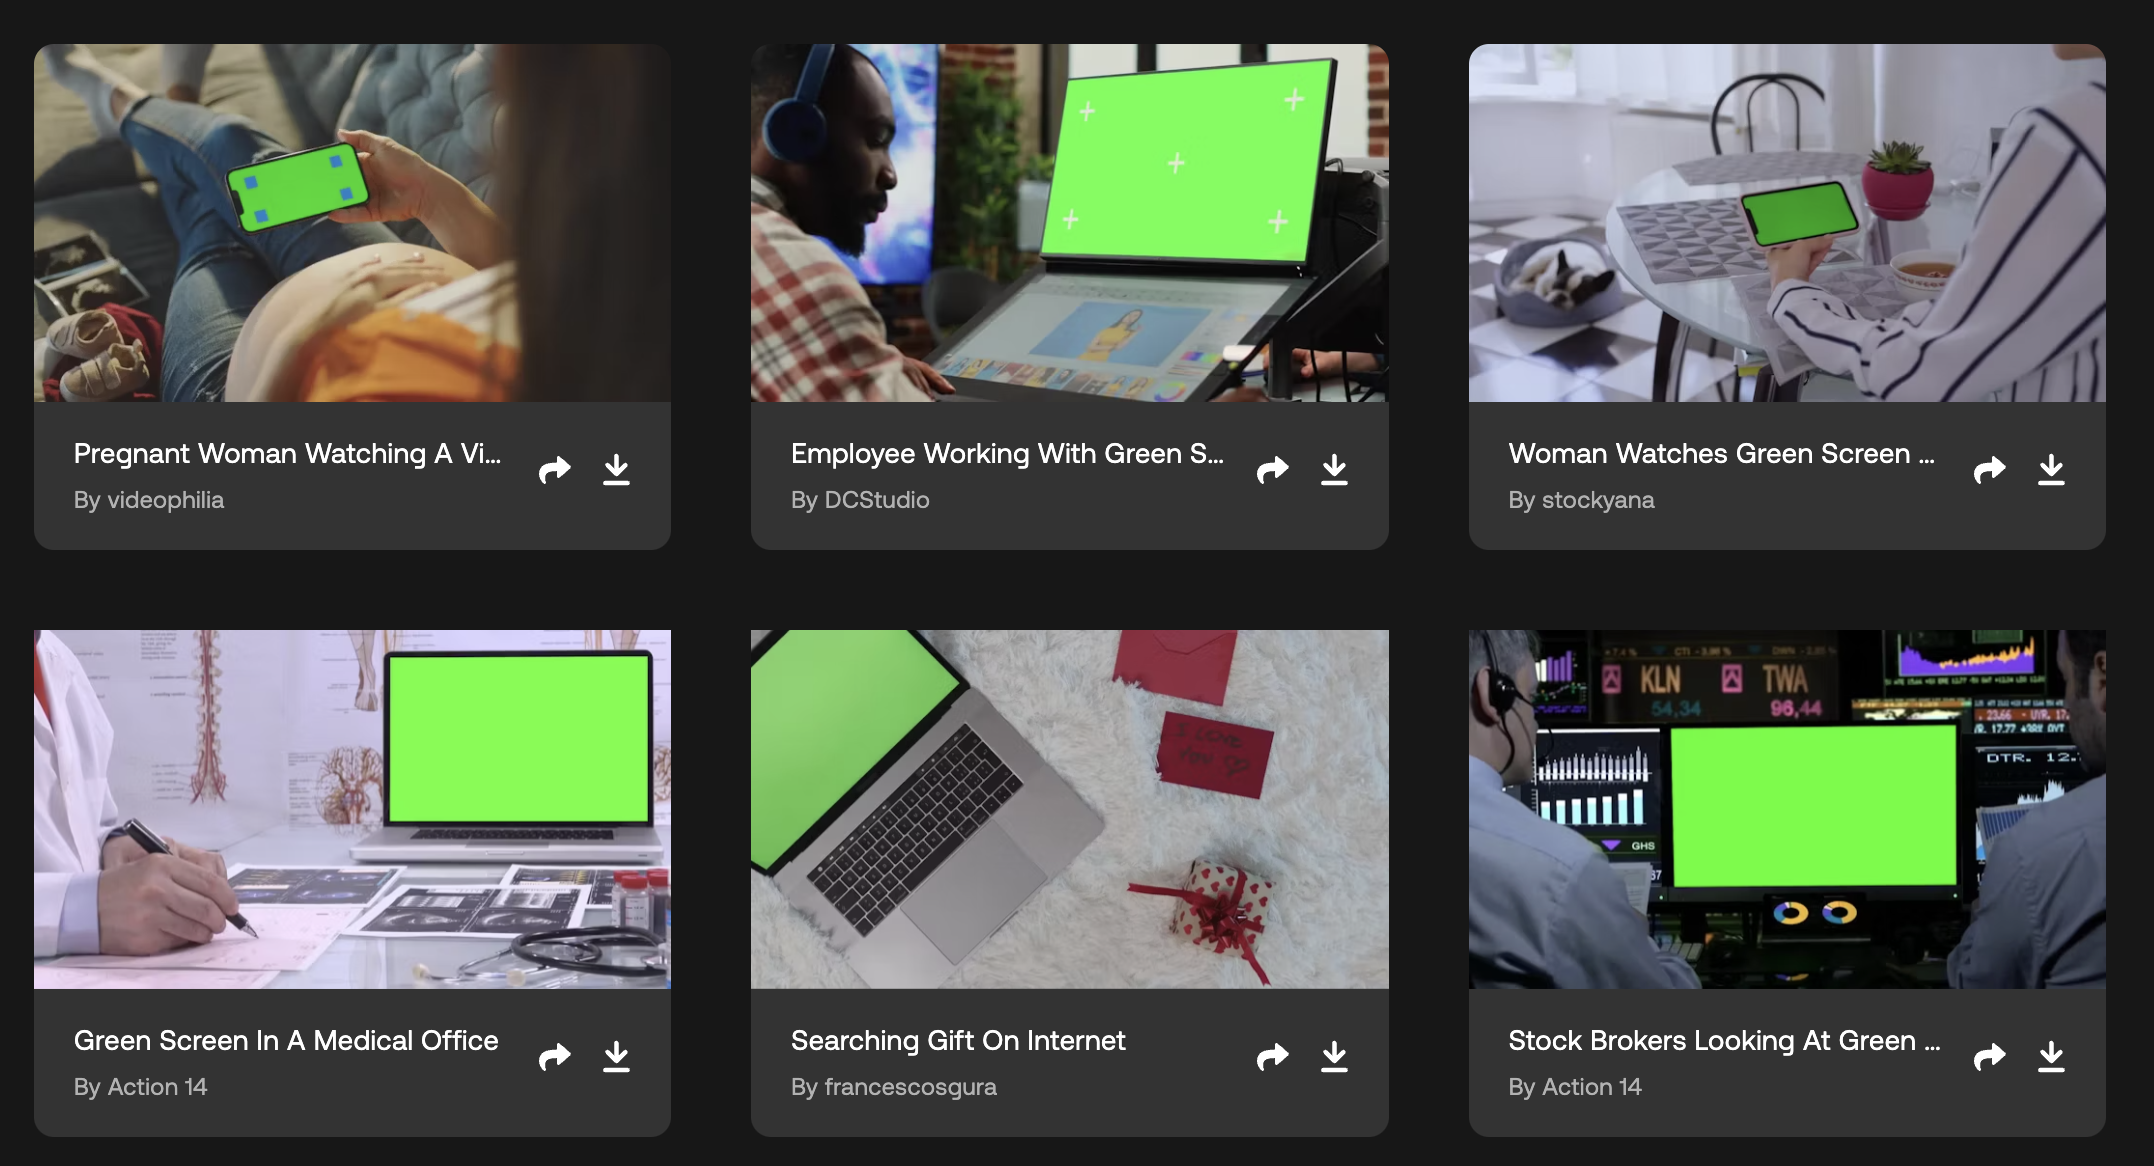
Have a look at this green screen category on Motion Array. Here you'll find hundreds of pages of stock video where the purpose is to swap in your own video. They've removed the screen of a computer, tablet, or mobile device so you can key in your own content. Some of them show a figure in front of a green background, but the intent is the same.

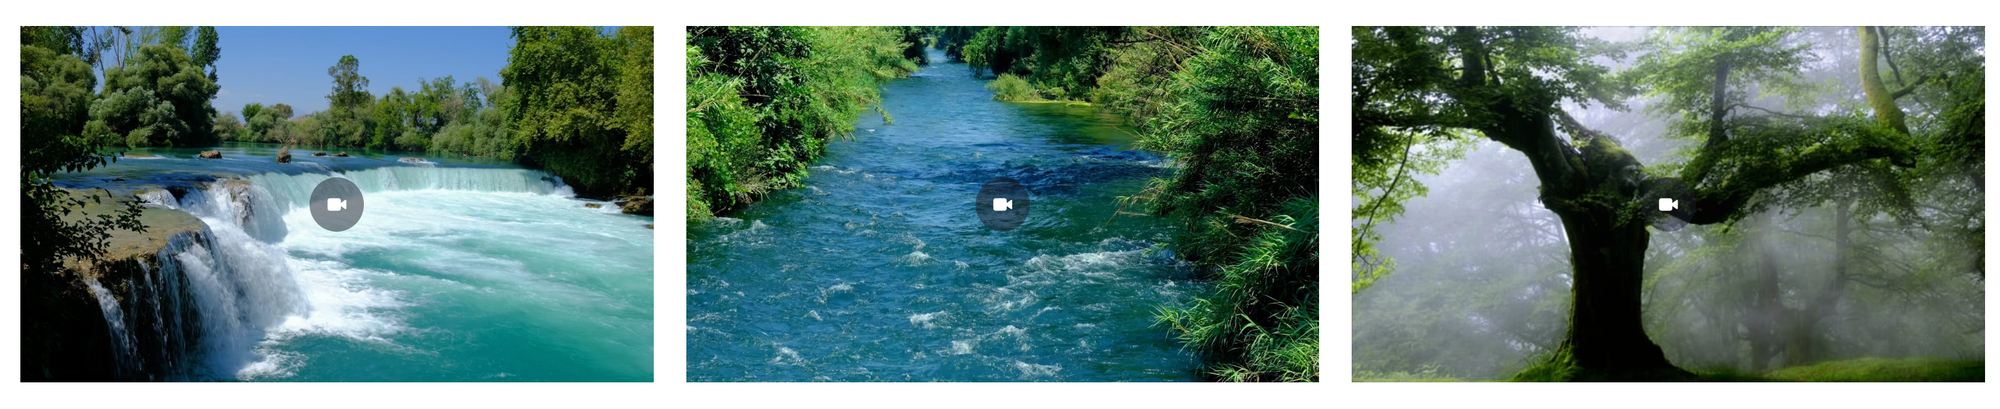
If you're looking for stock video scenes like the kind that run behind a news station, check out this collection at Pond 5 and this one at Pexels. They include themes like cozy fireplaces, money raining from the sky, and scenes from nature.
PixaBay and Shutterstock are two other popular places to license high definition video content. All of these sites suffer from the same basic limitation though. They're in generic and in the public domain, so you're likely not the only video editor using them. As you move from scene to scene, differences in the lighting and style of each video could also feel awkward to the viewer.
Your project ultimately dictates what kind of green screen footage you can use. For creative projects, we encourage you to be a little adventurous and create your own animations. Let's jump into that topic next.
Create unique green screen video backgrounds
Stock video libraries are always going to be constrained by their existing content. If you're open to being more creative and artistic, try using an AI animation generator like neural frames. You'll have an easier time maintaining style and brand consistency during the video, plus your video content will be one hundred percent original.
The music video below was created by neural frames user Sasha Chimaera, under his social media handle Yong YinYang. Check it out for a creative example of how people are experimenting with this technique.
Sasha recorded headshots rapping along with one of his songs in front of a green screen background. Then he generated a series of AI animations with neural frames. Notice how the lyrical content and sound effects match the imagery he generated for each scene. He gave himself full creative freedom to experiment!
Neural frames combines text-to-image prompting with frame-by-frame animation. You choose the concept, motion parameters, and duration of each animated section. Render directly onto the editing timeline and proceed to trim and modify it from there. When you're happy with the animation, bounce the video and bring it into a video editor to key it in.
Animate vertical green screen videos for TikTok
You've probably seen the TikTok videos where creators have removed the background and swapped it in for something else, like a news story or animation. The tutorial above shows you how to do it step by step, but here's a quick summary:
- Open TikTok and press the plus sign on the bottom toolbar.
- Click on the effects box, located at the bottom left of the screen.
- Swipe left on the toolbar that appears, until you seen the "green screen" label.
- You'll find a series of icons below that toolbar. The second icon on the first row shows an image with a play button and a green screen behind it. Select that option.
- TikTok will open your camera roll and ask you to select a background video to use.
Want to create your very own neural frames video for TikTok? In the video below, our founder Nicolai will show you how to initiate your project in a 9:16 aspect ratio. He creates a vertical animation of a robot for this demo. Hit download and migrate the file to your mobile device to upload it to TikTok.
Remove video background without green screen
TikTok isn't the only tool that lets you replace backgrounds without using a green screen. Canva works great for still images, but the best option that we've found for video is VEED. Here's a quick tutorial that walks you through the steps.
- Import a video and click on the clip in your editing timeline
- On the left panel, the Media icon should be automatically selected. If it's not go ahead and click on that first.
- Scroll down slightly to find the Remove Background option on the Magic Tools list. Click on that button and wait for the video to process. A 30 second clip takes about 15 seconds to process and buffer.
Just like that, you've got a video transparency. This works particularly well with human figures and high contrast against the background scene. We've run into problems with this feature when foreground imagery becomes more complex.
Here's what it looks like when that background removal algorithm fails:
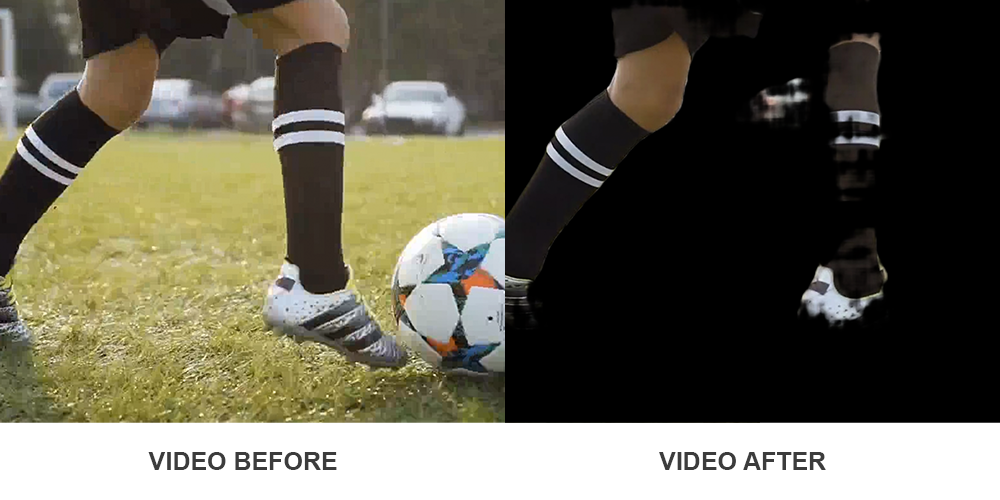
In this example of someone dribbling a soccer ball on a field, we see lots of visual errors and noise. VEED's AI had a hard time distinguishing the idea of "player" and "ball" from the blades of grass, which are technically also in the foreground.
So if you're going to use this technique, treat the original video as if you were using a green screen. Keep the foreground images separate from everything else. Find a more detailed tutorial for using neural frames with VEED here.
You can also sign up for a free neural frames account today to start creating your own background videos today.
Advanced video masking techniques
If you aren't getting good results with background removal features in an app like VEED, then it may be a good idea to follow the lead of other professionals. Here are a few final resources to explain how you can chroma key green backgrounds in each of the major video editor tools.
In each of the following example, you'll need to start by adding the foreground and background videos to your timeline. Click on the hyperlink we provide on each feature name for a detailed, illustrated tutorial.
Adobe Premier Pro: Take some time to color correct your shots and then use Premier's Ultra Key tool to swap in your background video.
DaVinci Resolve: Click on the color icon, select the qualifier tab, and click on the qualifier tool. Click on the green portion of the foreground video and then hit invert selection.
Apple Final Cut Pro: Select the foreground clip and click the effects button. In the browser, type in "green screen" and then drag the effect onto your clip.
Vegas Pro: Open the Video Event FX window and select VEGAS Chroma Keyer. Then use the color picker to match your shade of green.
That should cover most of the essentials. If you're a beginner, we do recommend sticking with a tool like Veed at first, so you can focus on more entertaining work like recording your content and generating animations.