How to Pick the Right Image Model for Your AI Music Video
Pick your image model yourself or let the new budget slider decide. Here's what we learned testing every option.
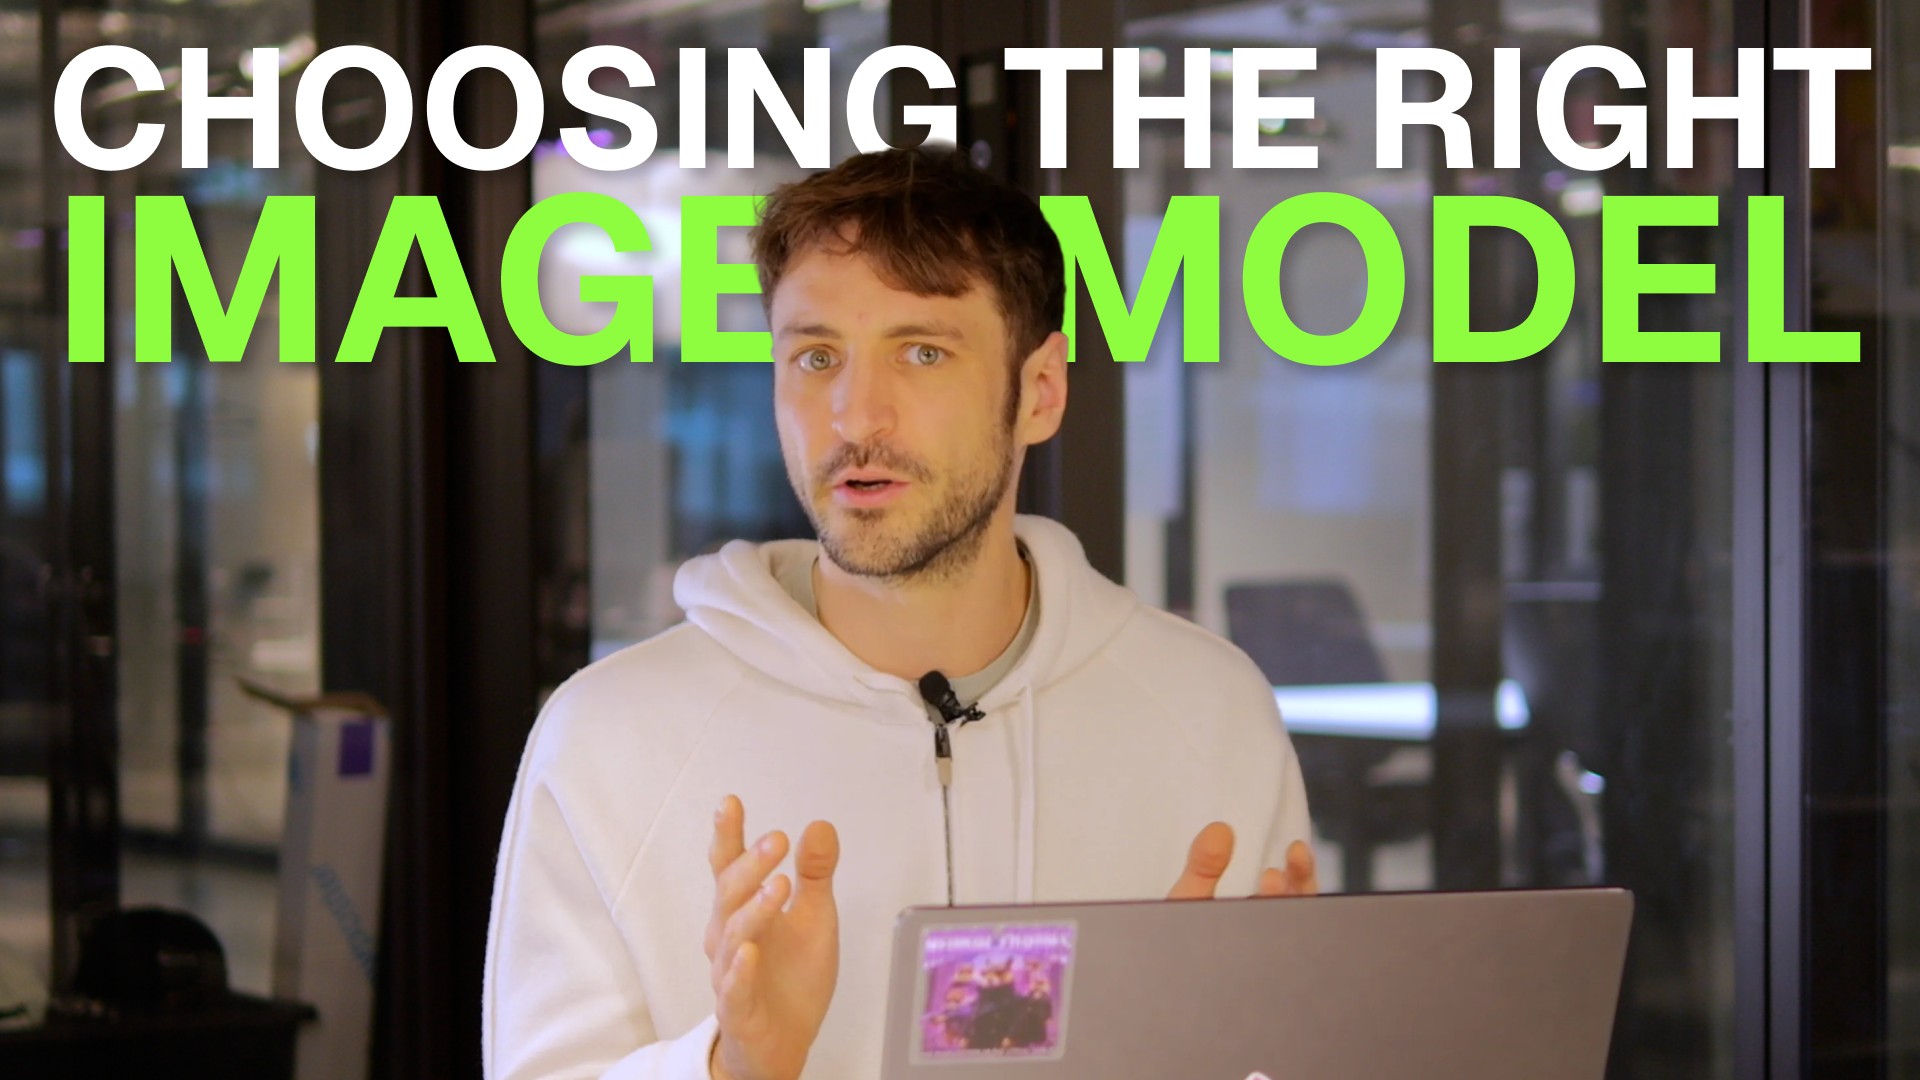
Every AI music video on neural frames is built from two things: starting images and video clips. An image model creates the first frame of each scene. A video model then brings it to life.
You've always been able to choose the video model. Until now, we picked the image model for you. Starting today, you can choose it yourself, or let a new production budget slider handle everything.
This guide explains both options, and what we learned testing the image models on the same song.
Two ways to control quality
When you open the storyboard, you'll find two modes.
Auto mode. Drag the production budget slider from low cost to high quality. The credit cost updates as you move it, and we choose the best image and video models for your project. If you're unsure, the middle setting is a great default. Most creators will never need more than this.
Manual mode. Choose your video model just like before, and now your image model too. The options are:
- GPT Image 2.5
- GPT Image 2
- GPT Image 2 Pro
- Nano Banana 2
- Nano Banana Pro
The test
To compare the models fairly, we made the same video several times. We used a California-style surf rock track, a single uploaded character (Nico from our team), the concept "Nico chilling by the beach in California, surfing, watching the waves" and the Warm Vivid Film style. The video model was Seedance 2.5 every time. Only the image model changed.
A deep dive on choosing the right image model for music videos
The models, one by one
GPT Image 2.5 (OpenAI)
Fast, relatively low cost and decent at keeping characters consistent. It's a solid all-rounder for music videos. One quirk: if you look closely, some images have a faint, slightly blurry pattern over them. A strong video model mostly smooths that out, but it's worth knowing about.
Use it for: quick, budget-friendly drafts and everyday projects.
GPT Image 2 (OpenAI)
This one surprised us. With a character reference, the older GPT Image 2 often beats 2.5. It's still quick and cheap, keeps characters very consistent, shows more skin detail, and we didn't see the pattern issue. The difference comes down to how the models "think" under the hood.
Use it for: character-driven videos on a budget. This is our favorite value pick.
Nano Banana 2 (Google)
A bit more expensive than GPT Image 2, and you can see the difference. It's very consistent, has lovely skin detail and makes cinematic compositions. Its biggest strength is style. Presets like Warm Vivid Film, and especially style images you upload yourself, come through really faithfully.
Use it for: videos where a specific look or aesthetic matters.
Nano Banana Pro (Google)
Roughly three times the cost of GPT Image 2.5, and slower than the models above. In return, you get great composition, excellent consistency, and outstanding detail in skin, waves and light. Like Nano Banana 2, it carries styles beautifully.
Use it for: stylized hero shots where composition matters.
GPT Image 2 Pro (OpenAI) — new
The newest addition, and right now the best image model on neural frames. Reach for it when every frame has to be as good as possible.
Use it for: final renders and showcase videos where quality comes first.
The rule of thumb that matters most
The cheaper your video model, the more your image model matters.
The image model is only a small part of what a clip costs. The video model is where most of your credits go.
- With a premium video model like Seedance 2.5, almost every image model gave us great clips. The video model makes up for small flaws, so you can save credits on the image.
- With a budget video model, the starting image does much more of the work. Upgrading the image model is often the cheapest way to make a big jump in quality.
In short, if you're saving on video, spend a little more on the image. If you're already spending on video, a cheaper image model is usually fine.
Quick cheat sheet
| Your situation | Pick |
|---|---|
| Don't want to think about it | Auto mode, slider in the middle |
| Tight budget, character in the video | GPT Image 2 |
| Strong style or your own style images | Nano Banana 2 or Nano Banana Pro |
| Final render, maximum quality | GPT Image 2 Pro |
| Using a budget video model | Upgrade the image model |
| Using a premium video model | Any image model works well |
Try it yourself
The best way to learn is to render one scene with two different image models and compare them side by side. You'll start to see the differences fast.
Open neural frames and start a project →
Want access to every image and video model? See plans →
Happy rendering!